Thursday, December 23, 2010

How to Perfectly Pick and Peel a Pineapple

Most pineapples in the store are 2-4 days away from being ready to eat. Have you ever cut into one that had a white flesh? Then, upon a tasteless bite, you were mentally transported to a crowded smorgasbord (buffet) of the 1980's instead of going on that mental vacation to a beach in Hawaii. Hopefully you won't experience such disappointment again. Today is Christmas Eve. Mele Kalikimaka!

Not sure where I learned to properly choose a pineapple, but I think it may have been during my time in West Africa. I do know that I ate 1 pineapple a day for the first month that I lived in Cote d'Ivoire. After 1 month, I didn't grow tired of them, but some very painful ulcers in my mouth prevented me from continuing my regimen of a pineapple a day. In the city where I lived, the pineapple vendors would push a wheel barrow-like contraption around filled with ripe pineapples. For a small fee, maybe 10 cents, they would peel a pineapple in 10 seconds with a dull machete and managed to keep their extremities intact. It was quite entertaining to someone that didn't have a TV or regular access to the Internet.

My method doesn't involve a machete and your own hand/eye/knife coordination will determine if you keep your extremities attached, but I hope it helps you perfectly pick and peel a pineapple.

The pineapple should have some brownish and yellow tones between the diamonds. If it is dark green between the diamond pattern, it is not ready. Also try this: Put one hand under the base of the pineapple. With the other hand, gently tug the innermost leaf from the top (spikey part). If it releases easily, it is ripe and ready to eat. Now the fun begins.

Cut the top part off and keep as a garnish or discard. Pick a place at the top and cut from top to bottom. Rotate and repeat 7-9 times.

Go back and do any necessary touchup work.

It's looking nice.


Turn on the side and cut slices 3/4-1" thick.


Cut the slices in half.

Change the knife from a large carving knife to a pairing knife. With the knife at 180 degrees, gently cut out the core. You may need to flip the 1/2 slice over and cut again.


Core is removed and you have a nice rounded shape.

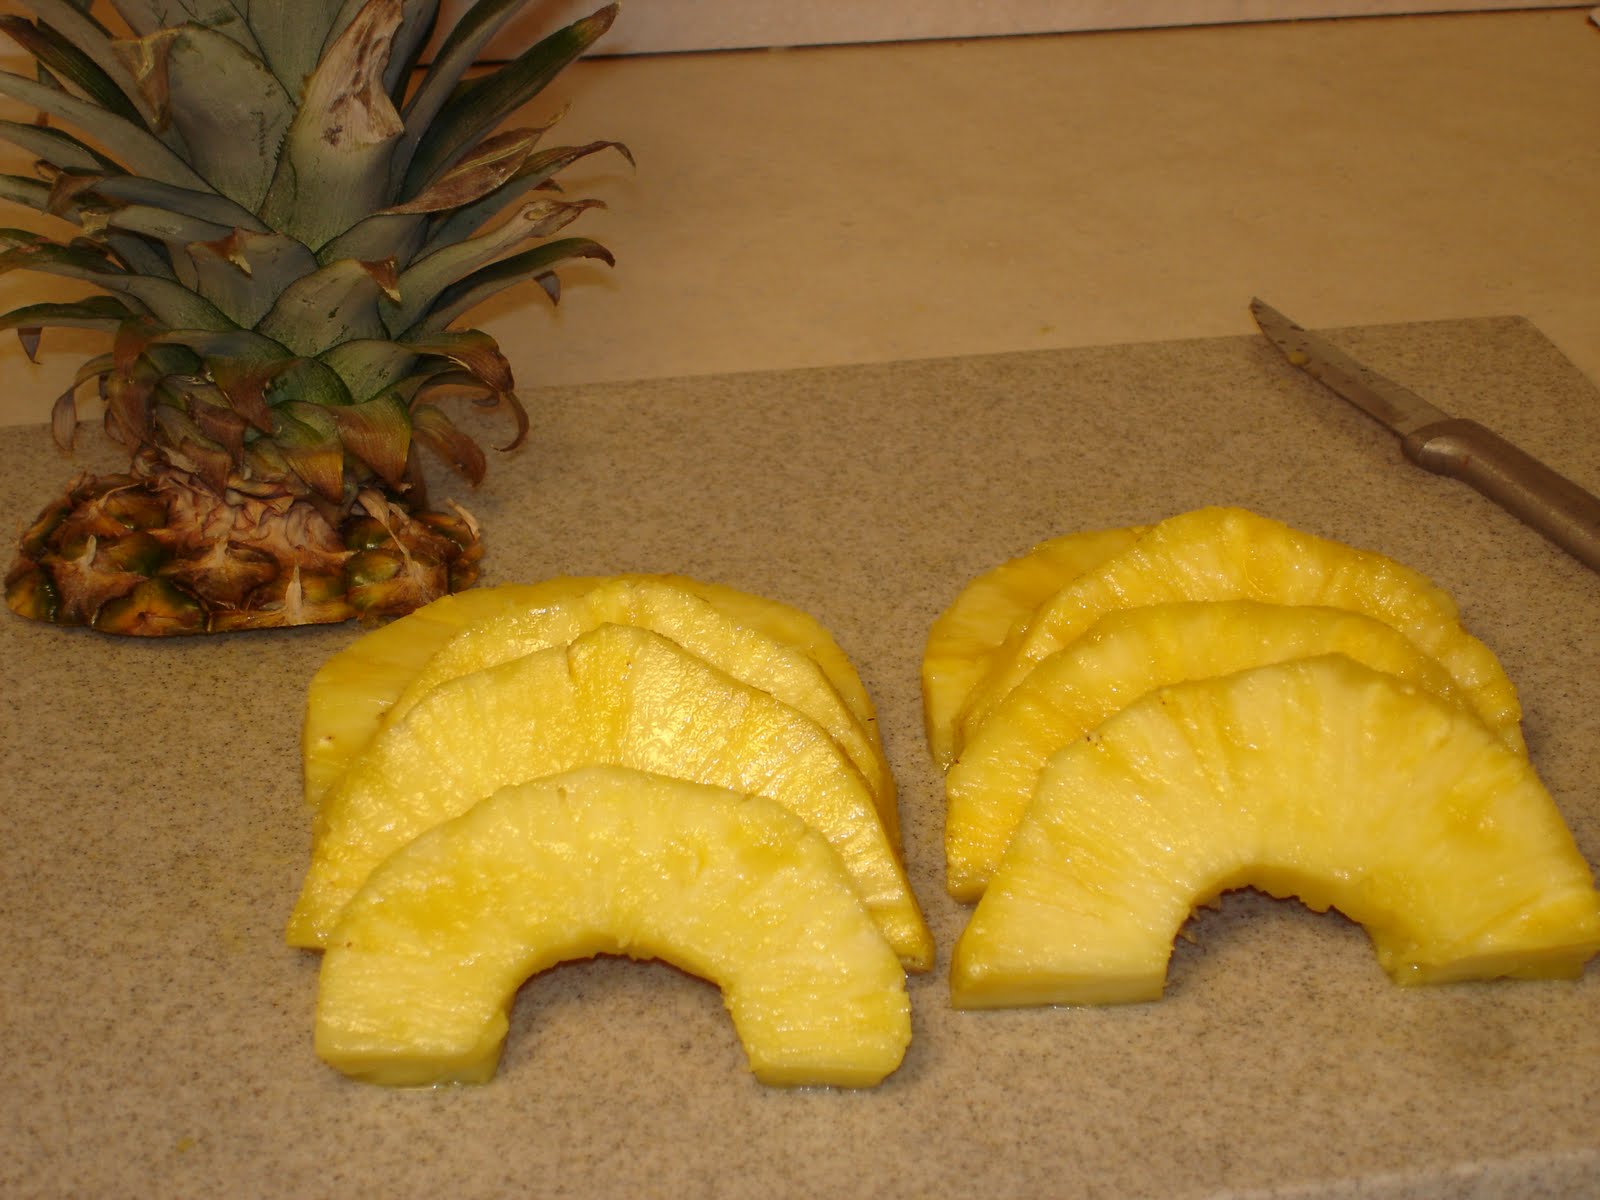
Slices are stacked and ready to be arranged or eaten.


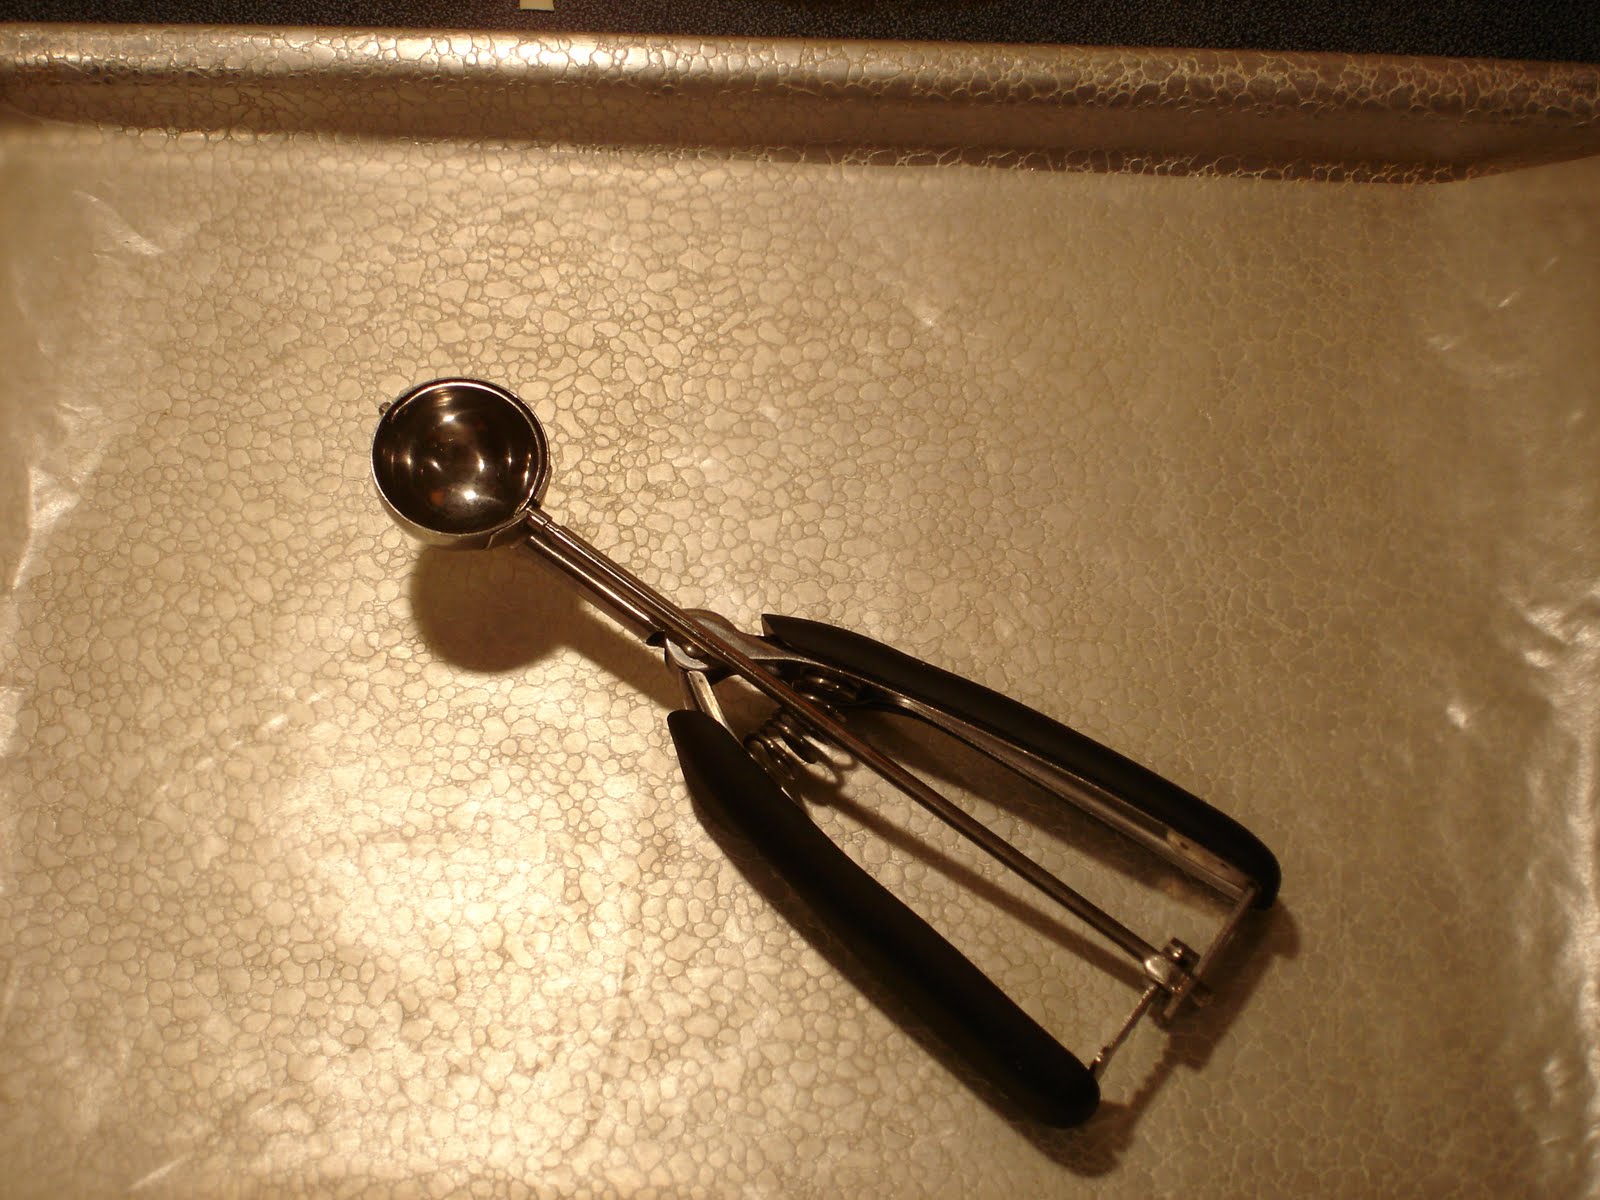
If you don't use all of your pineapple, put it on a cookie sheet lined with wax paper and freeze it for 12 hours. Remove and put in a Ziploc. Pull out only as much as needed.

I've used frozen pineapple pieces in smoothies and on homemade pizza-Hawaiian Style of course.

Tuesday, December 14, 2010

You say tomato, I say tohmahtow


You say tomato, I say tohmahtow. Some say Snowballs, but me, I grew up calling them Mexican Wedding Cookies. It was a tradition to have these around Christmastime. I like to think of them as little bites of buttery goodness. The recipe requires ONLY 2 sticks.

These cookies were made yesterday and today they are almost gone. It was nice to share these with my child's teachers and then some were taken to a women's Bible study.

That's how I feel about cooking. It's only as much fun as seeing those around me enjoy it. So share your cookies and be kind to your friends. If you have to, tell them what no one else is willing the say, "Go look in the mirror, you have powdered sugar on your lips."


Mexican Wedding Cookies
1 c. butter, softened
1 tsp vanilla
1/4 tsp salt
2 c all-purpose flour
1/2 c sugar
Powdered sugar for dusting
1 c finely chopped pecans
Cream butter, 1/2 sugar, vanilla and salt until fluffy. Stir in flour until well blended. If using pecans, add with flour at this point. Put in wax paper and chill 30 minutes or until firm enough to handle. Shape into 1-inch balls. Place 1 inch apart on an ungreased cookie sheet and bake in a preheated 375 oven until light golden brown about 12-15 minutes. Place on a cooling rack. While cookies are still warm, dust heavily with powdered sugar. Store in a cool dry place. Before serving, dust with more powdered sugar. Makes 35-45 cookies.

Thursday, December 2, 2010

MacGuyver or MacGoober


It's great when you find one gadget that serves many purposes. When you stop and think about it, guys have their pocket knives that they use for different tasks. With their pocket knife, they can gut and scale a fish, they can pick their teeth, and be the quickest draw at a child's birthday party to cut those annoying plastic ties and release the much wanted toy from it's bondage.

As for girls, we have our purses and our kitchen gadgets. Take a wood spoon for example. It can be a stirring utensil, a spanking utensil, or a means of entertainment for a toddler when paired with a metal pan to bang upon while sitting in the kitchen floor. I've also found that an ice cream scoop can be used to scoop out more that frozen flavored cream.

What more could an ice cream scoop possibly do? Leave a woman in the kitchen long enough and she will discover a plethora of possibilities. Here are my latest findings: forming turkey meatballs (see meatball recipe is a previous post), making uniform-sized cookies (including coconut macaroons), and of course scooping sorbet into fancy glasses.

Today I used the mini ice cream scoop to make coconut macaroons. They looked great and to my delight, they cooked evenly and didn't spread. My husband paid me the nicest compliment about my macaroons. He said that the macaroons were my best yet and that they had a crunchy exterior, while maintaining a gooey interior. I'll definitely be using it at all times from this day forward when making macaroons.

The only problem that I have found with the ice cream scoop is that kids are intrigued by it. If you allow your little one to use it to shape cookies, monitor them. You wouldn't want their precious little fingers to get caught in the spring/handle part. The kids will monitor you and remind you that if you eat raw cookie dough, it will make you sick. At least mine does...

Although my physical appearance may resemble MacGruber (from SNL), I feel like MacGuyver as I wield my my kitchen gadgets and think of my simple culinary accomplishments. I've managed to make a meal/dessert AND entertain 1 more child while not using anything I learned in college. It's all in a day's work. Just call me Mrs. MacGoober.


My mini ice cream scoop was probably purchased at BB&B and looks to me like it is an OXO brand. By the way, Pier One has these adorable mini-martini glasses. I don't do mixed drinks (unless you consider ginger ale and cranberry juice a mixed drink), but I think the glasses are a fun way to serve 3-4 scoops of raspberry and coffee sorbet.

Coconut Macaroons
1/2 c flour
scant less than 1/4 tsp salt
4 1/2 c sweetened and shredded coconut---this is a little more than 1 package.
1 can of sweetened condensed milk
1 3/4 tsp vanilla extract

Preheat oven to 350. Line a cookie sheet with parchment paper.
Sift the salt and flour into a bowl. Toss the coconut into the flour bowl and stir, coating the coconut. Pour the milk into the mixture. Add the vanilla, and mix well to make a very thick batter. Using an mini-ice cream scoop, form the macaroons into balls, scraping on the edge of the bowl and release the shape onto the pan.
Bake for 15 minutes. Evaluate if they are slightly golden. If not, allow to bake for another 1-3 minutes. Remove from the oven. Place on a cooling rack.

Yield:52 macaroons